Nalbinding Wrist Warmer Pattern – Oslo Stitch
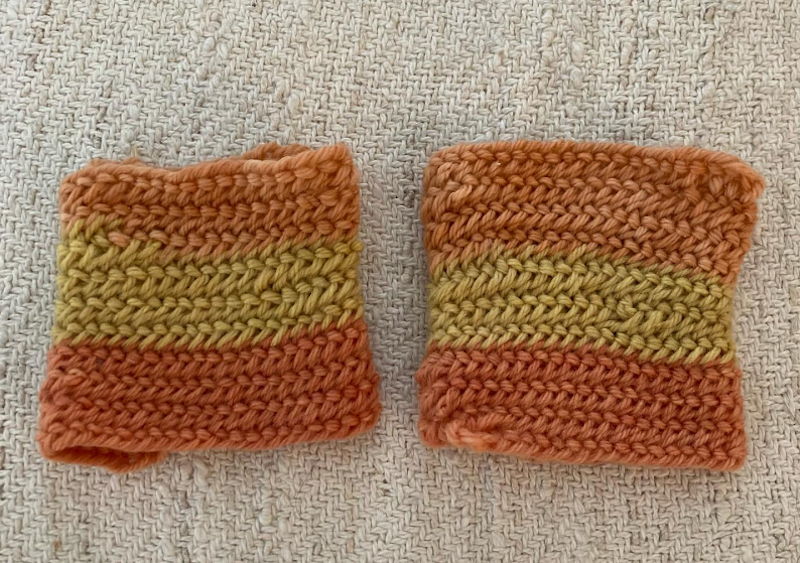
This pair of wrist warmers worked in Oslo stitch is a good project for beginner nalbinding.
This nalbinding project uses a small amount of yarn and helps you to develop a consistent and even nalbinding stitch. You can use up little bits of yarn from your stash. Even if your first work is a bit lumpy bumpy, the extra texture will add interest to your project.
How to Join Yarn Ends
Short lengths of yarn can be joined without felting or knots by using a technique called a ‘Russian Join’
With a large sewing needle, fold the end of the old yarn and work the needle back through the yarn for about an inch or two, forming a loop.
Slip the end of the new yarn through the loop, Thread the needle and gently pull on the old yarn to tighten the loop.


With a large sewing needle, work the needle through the new yarn for about an inch or 2, thread the needle and gently pull the end of the yarn through the loop.
The ends of the yarn can be safely trimmed.


How to Estimate Stitch Gauge
With Nalbinding it is difficult to state how many stitches to cast on because everyone works at a different gauge. Generally the nalbinding loops are formed around your thumb, and everyone has a different size of thumb. Once you begin to nalbind, you will develop a rhythm and an even stitch length that works for you. After working a few nalbinding pieces you will be able to estimate what your natural nabinding stitch gauge is. This size may also vary depending on which nalbinding stitch your are forming.
When you want to make a nalbinding project, it is important to measure the size so that it fits the wearer. For making wrist bands, measure around the largest part of your hand, so that the finished wrist warmer will fit around your hand. Check the size as you are working to ensure it will fit. As you are nalbinding, the tension of your stitches can easily loosen or tighten as your hands get tired.
Work a nalbinding chain or a small sample.
Measure your stitch gauge – This can be in inches or in centimetres.
Measure the length of your project and using the stitch gauge, estimate how many stitches you will need to cast on.
How to Tighten Nalbinding Stitch Size
There is a method of tightening the stitch size, by tightening each stitch around the needle before the loop is fully formed. As you are working the stitch, slip the working loop off your thumb, and pull gently on the yarn. Allow the yarn to tighten around the needle before you pull the needle out of the loop. Don’t pull too tight, or you won’t be able to pull the needle through.
Unlike knitting and crochet, there are no standard nalbinding needle sizes as most of the needles are hand carved. You will learn how to work best with your needles and will become familiar with the natural gauge of your stitches and needles.
Oslo Stitch
These wrist warmers are worked in the Oslo Nalbinding stitch.
Nalbinding – Wrist Warmer Pattern
Yarn: DK weight, approx. 15-20 grams
Stitching Gauge: 6 stitches per inch (11 stitches per 5 cm)
Stitch size adjusted to Needle
Measure around the widest part of your hand.
- Measure around the widest part of your hand
- Use this measure to estimate the number of stitches to use
- Work a nalbinding chain
- Check the length of the chain by wrapping it around your hand
- Join the 2 ends together, forming a circle
- Work around the chain using the Oslo stitch
- Continue working in the round until the wrist warmer measures 3-4 inches.

Shop for Nalbinding Supplies at Paivatar.com
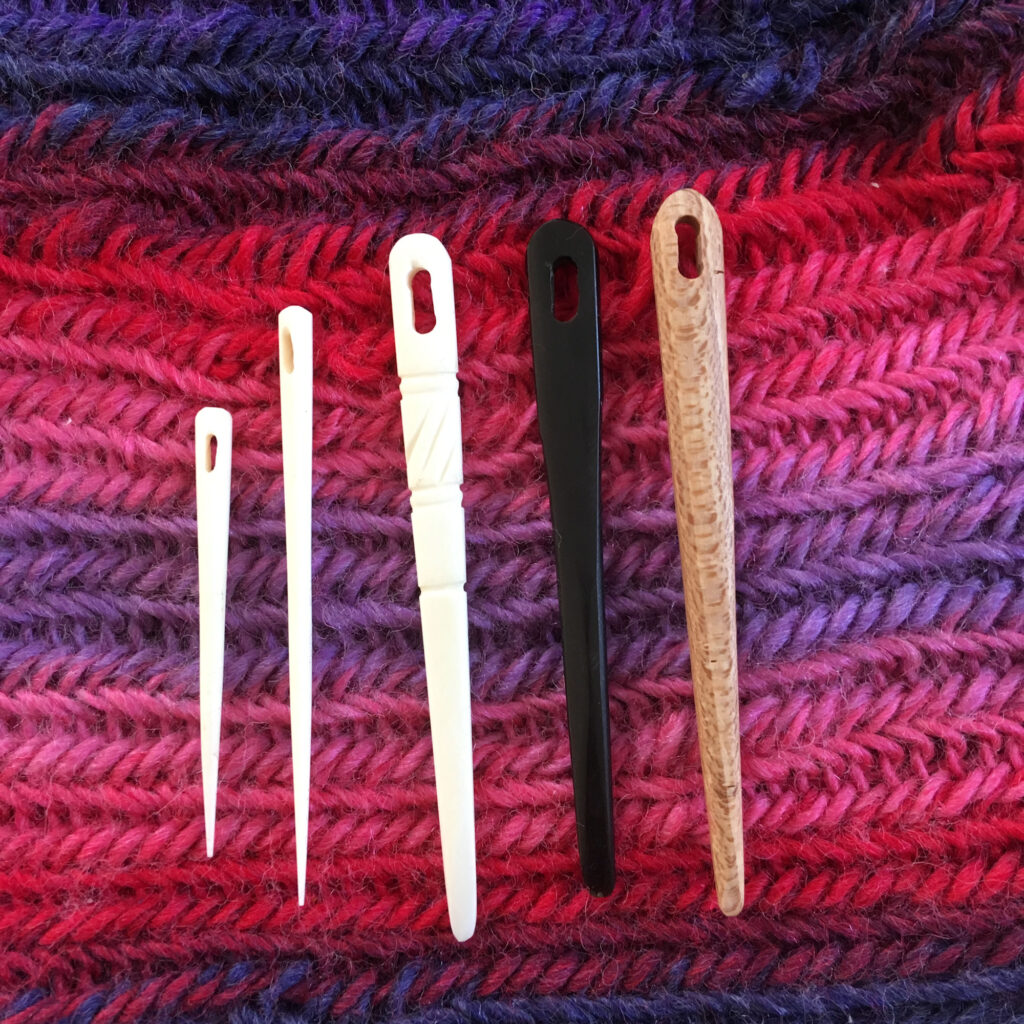

Paivatar Nalbinding Needles
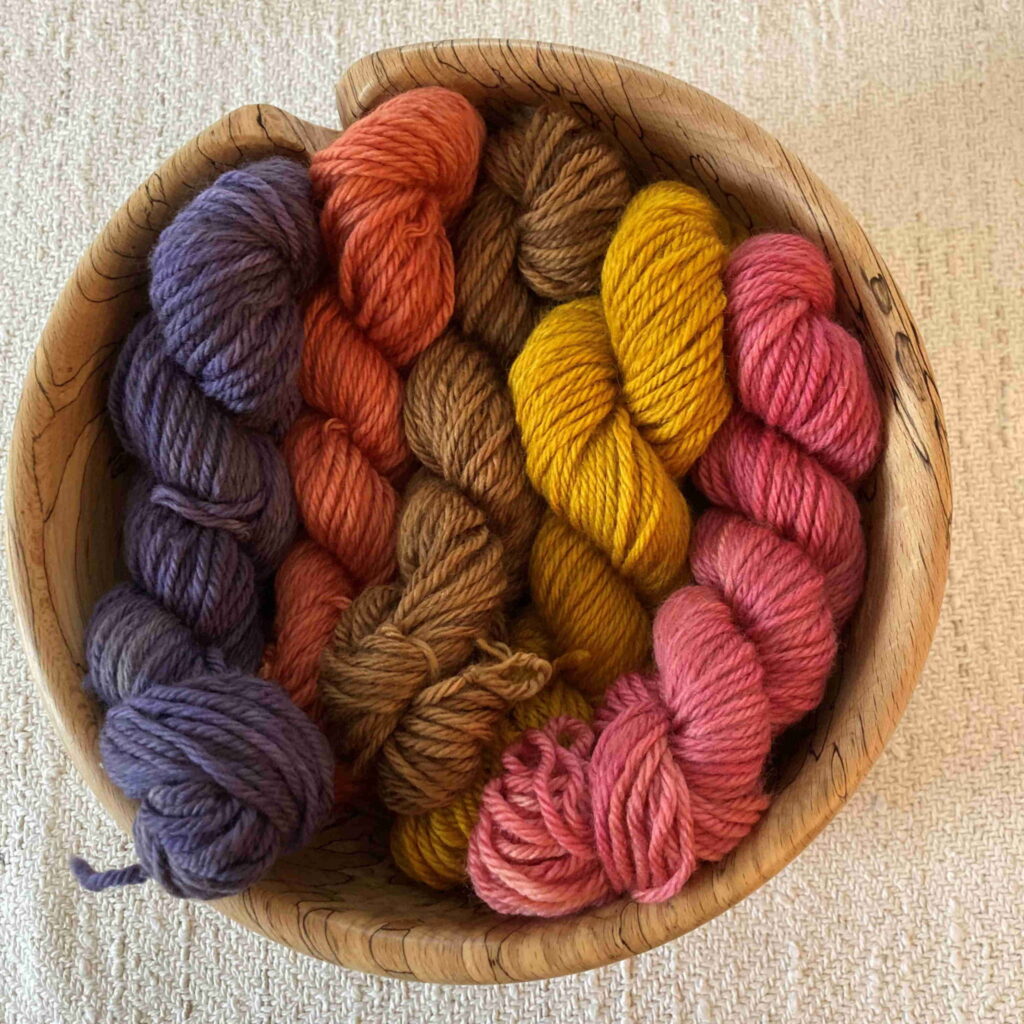
Paivatar Natural Dyed Yarn for Nalbinding
Paivatar Handspun Wool
More Nalbinding
Nalbinding Hat Pattern – Mammen Stitch
Nalbinding Stitch Summary
Nalbinding Stitches
Nalbinding Iphone Case
Russian Join Technique
Naalbinding
Handiscola Project
 LONGTHREAD MEDIA VIDEO
 LONGTHREAD MEDIA SUBSCRIPTIONS
HANDWOVEN MAGAZINE
PIECEWORK MAGAZINE
SPINOFF MAGAZINE
LEARN LONGTHREAD MEDIA
PAIVATAR HANDMADE
 Paivatar on YouTube
Visit my YouTube channel for how-to craft videos.
Or Please visit my Channel on Rumble for more how-to videos.
https://rumble.com/Paivatar
LIVE STREAMS - Paivatar Studio
KICK
TWITCH MAKERS&CRAFTING
YOUTUBE
Categories: Heritage Crafts, NALBINDING
