
Indigo, Madder, Bran Fermentation Vat
A natural fermentation Indigo vat that uses natural Indigo, Madder and Bran to produce the fermentation of the Indigo dye.
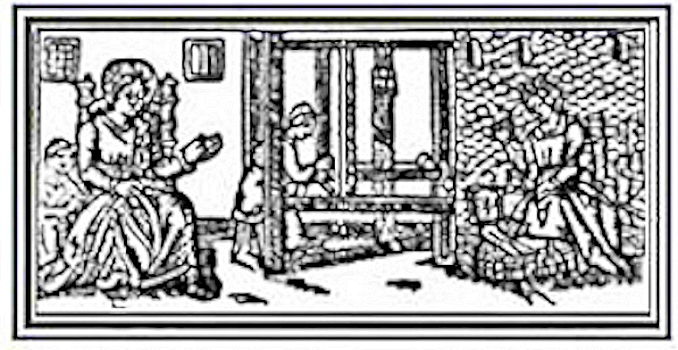
Indigo fermentation vats have been used for centuries. All existing museum specimens dating from at least 2000 BC to 1750 were done in fermentation vats. (p. 80 JN Liles) Urine vats were mostly used for Indigo fermentation.
In the book ‘The Art and Craft of Natural Dyeing – Traditional Recipes for Modern Use’, JN Liles also describes an Indigo vat that is naturally fermented using Madder dye and Bran. The Indigo ferments slowly as sugars in the madder and bran are released and serve as an energy source for the fermentation process. (p.88) Natural Soda Ash is used to change the pH to an Alkali. Add sufficient Soda Ash (washing soda) to keep the pH at 8-9. This type of Indigo vat is much gentler on wool than other types of Indigo vats – and is much less harmful to the environment.
A Badly Neglected Indigo Vat – April 17/24
A Badly Neglected Indigo Vat
Well with all my great intentions to keep this going, Life got in the way and I didn’t. So now comes the challenge of getting this going again. I have moved the vats out of the pantry in the house, into the studio where perhaps I can keep a better eye on things.
Indigo Vat – Week 11
Success! Indigo Blue on wool and Bamboo/linen yarns. A few skeins look a bit grey so will overdye those once more.

Indigo Vat – Week 10

One of my vats has turned very sour. I tried to revive it by pouring out the liquid, leaving the Indigo at the bottom of the vat and adding more water, bran, madder. That wasn’t very successful and I woke up to a smelly house.
So I will pour out the foul liquid and begin again.
I came across this today during my ggling session.
( I do hate it when ggl thinks it has given me enough data and only gives me a few ‘top’ search results – all ones I have read already. I had to tell ggl that I needed more data..)
How To Dye With Woad & Indigo – Historical Dye Recipes
Indigo Fermentation Vat (With Bran & Washing Soda)
German Vat. […] Having filled the copper with water, we are to heat it to 200°Fah.; we then add 20 pailsful bran, 22 lbs. of carbonate of soda, 11lbs. of indigo, and 5 1/2 lbs. of lime, thoroughly slaked, in powder. The mixture is to be well stirred, and then set aside for two hours; the workman should continually watch the progress of the fermentation, moderating it more or less by means of lime or carbonate of soda, so as to render the vat in a working state at the end of twelve, fifteen, or, at the most, eighteen hours.’ (A Manual of the Art of Dyeing, 1853)
From this – I notice that a fermentation vat can be working within 12 – 18 hours!
Indigo Woad Fermentation Vat (With Yeast)
‘The woad or pastel vat according to Homassel. – To set this vat, it is useful to employ either putrid water, or an old vat of madder, to accelerate the fermentation of the woad;
but if you have not these, proceed thus: The day before you set your vat, grind twelve or fifteen pounds of woad, and having put it in a basket, pour hot water upon it to moisten it. Let it thus remain till it comes down to the warmth of leaven. Then take four ounces of yeast, and mix it with warm water, add it to the pastel or woad and stir it in; cover it so that it may retain its heat. In a short time the fermentation begins, and the woad becomes of a fine green colour; this serves as a ferment or leaven for the vat. After this, common water will answer the purpose, which when boiled for a short time is emptied into the vat, but the woad must not be put in while boiling, otherwise it will set, and be injured.
And yeast can be used to ferment the vat.
Also I am assuming that the same methods will work for Indigo as well.
More About Indigo
Coloriasto – The Practice of Dyeing Blue
Notes Upon Indigo
” The attractiveness and utility of the largest class of these fabrics are due to the hue given them by the dyer; and of all the coloring materials one of the most precious is indigo. In former times, as it still does at the East, it occupied with madder the place of one of the two most important of all dyeing materials. Forced of late years to give way to the marvellous products of modern chemistry, it will doubtless resume its place under the influence of a more enlightened economy and a more subdued taste. To contribute to the hastening of this return is one object of this essay. The most usual reproach against American fabrics is the want of stability in our dyes,—a reproach without justice, if applied to American fabrics alone; for the cheapening of dyestuffs is practised in all the so-called manufacturing nations, and is contemned alone in the East, from which we have derived our arts, and by the people whom we despise as barbarous. To remove this reproach from American fabrics would be worthy of no little temporary sacrifice on the part of our manufacturers.
The value of indigo as a dyeing material is due to the great stability of the blue color, and the derivatives from blue, which it gives to fabrics, especially of wool and cotton. It is not sufficient that a dyed fabric should preserve its color when 4 submitted to violent tests, as when acted upon by vegetable or mineral acids or alkaline or soapy baths: the only stable dyes are those which resist air and light, the two destructive agents of vegetable colors. Indigo, from the remarkable manner in which its color becomes fixed upon a fabric, to be hereafter explained, possesses properties of resistance and stability in a higher degree than any blue dye. And when we consider that this blue has not only its own hue, but is the best foundation for blacks, greens, purples, and even browns, the importance of these properties cannot be over-estimated. “
By John L. Hayes, 1873
Indigo Madder/Bran Vat – Week 9
Well I haven’t been very consistent in my record keeping..
But my little Indigo vat has had daily care and feeding..
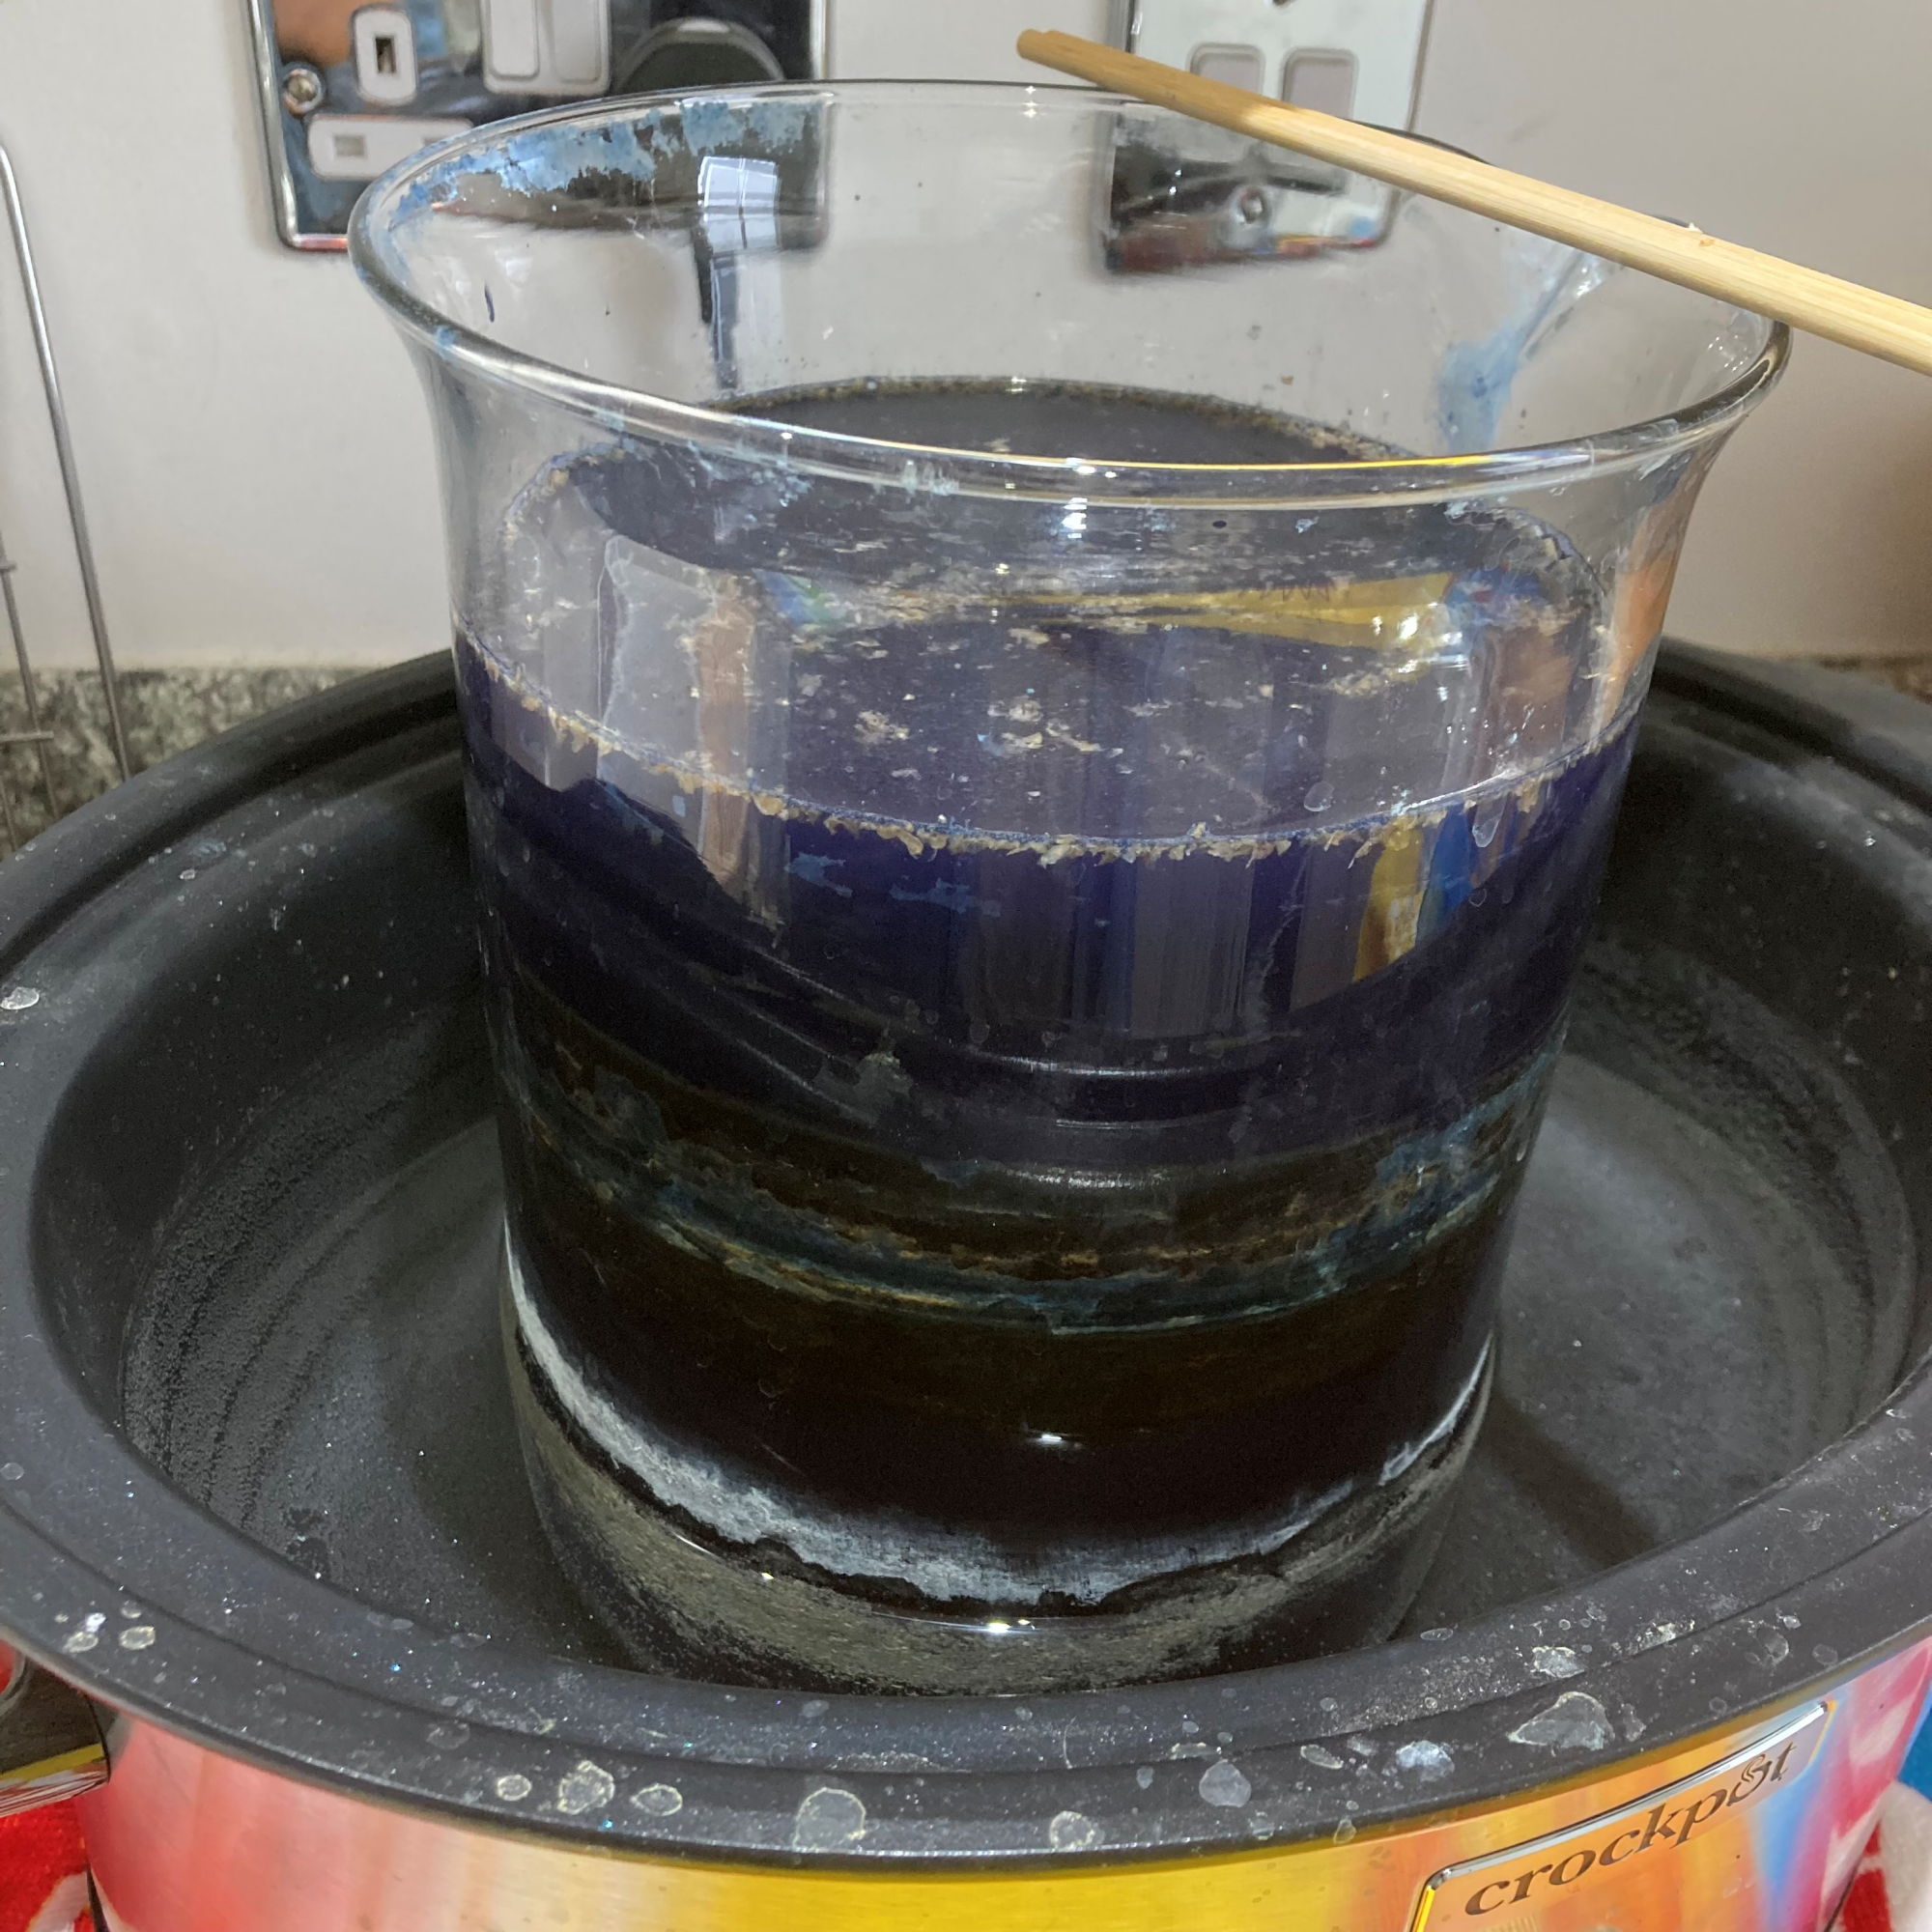
I had to change the heating system from a crock pot to a brew mat, because the water in the crock pot evaporated quickly since I wasn’t able to keep a lid on it.
I also put a heat resistant pad under the heating pad because the counter top did get quite warm.
I had some difficulties at first to get a good blue from the vat. So I tried various things. I had been sprinkling dry bran flakes into the vat, but that tended to float to the top. So I ‘cooked’ the bran a bit into a porridge, by adding some hot water. Then I added the madder to the porridge and let that ferment for a few days. I leave the fermenting bran/madder mixture on top of the heating pad as well.
That worked better, but I still wasn’t getting very strong colours.
So I kept reading and researching..
In the J.N Liles – The Art and Craft of Natural Dyeing book, he suggests adding a bit of yeast to the mixture. That worked and I achieved some beautiful blues on Linen/Bamboo.
My little vat has now grown to 3 vats. Each at various stages of fermentation.
Indigo Madder Bran Vat – Day 1
I have adapted this Indigo vat for use in a small space. I use a large sized crock pot or slow cooker for the dye vat, and a large beaker. The dye solution is placed into the beaker and sits inside the slow cooker. This keeps the dye vat at a constant warm temperature. Care must be exercised though, to avoid the water evaporating from the slow cooker, as a lid does not fit on top of the cooker when the beaker is inside.
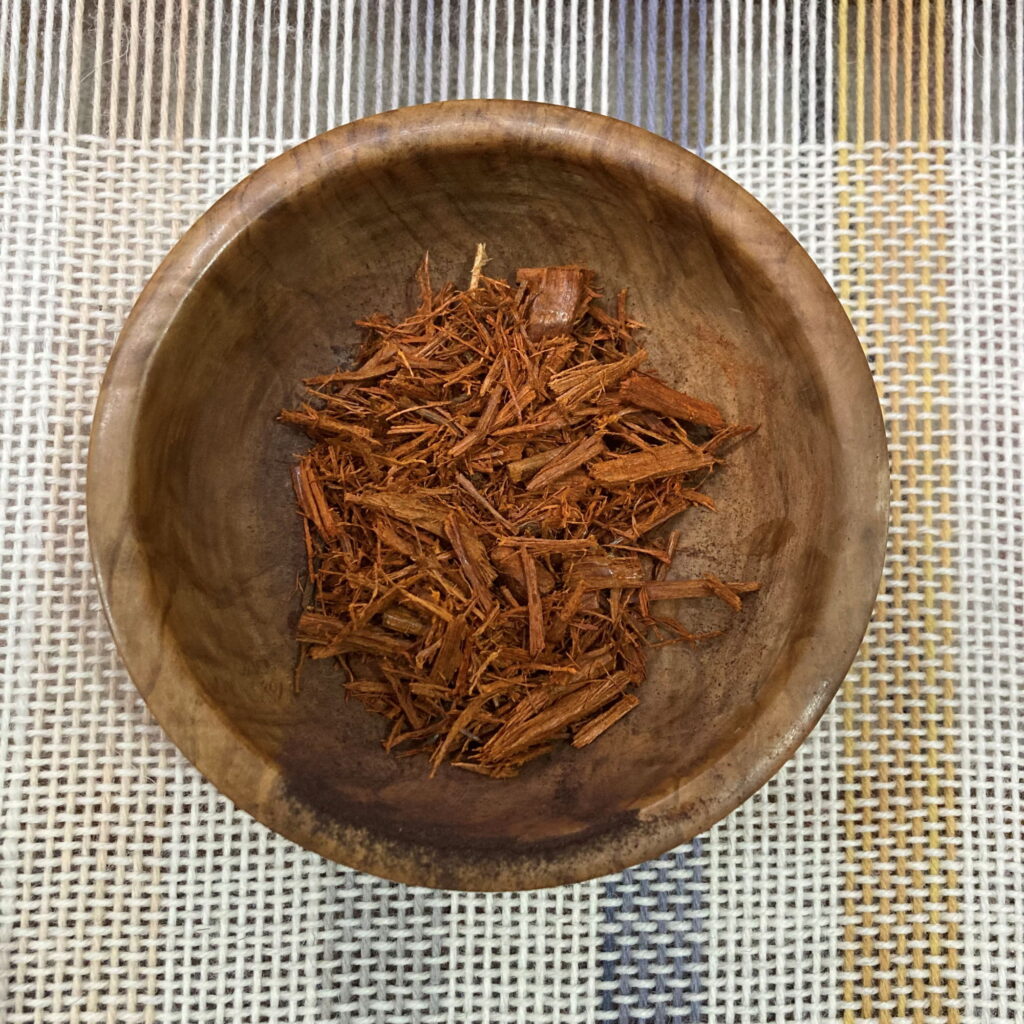
Madder and Bran
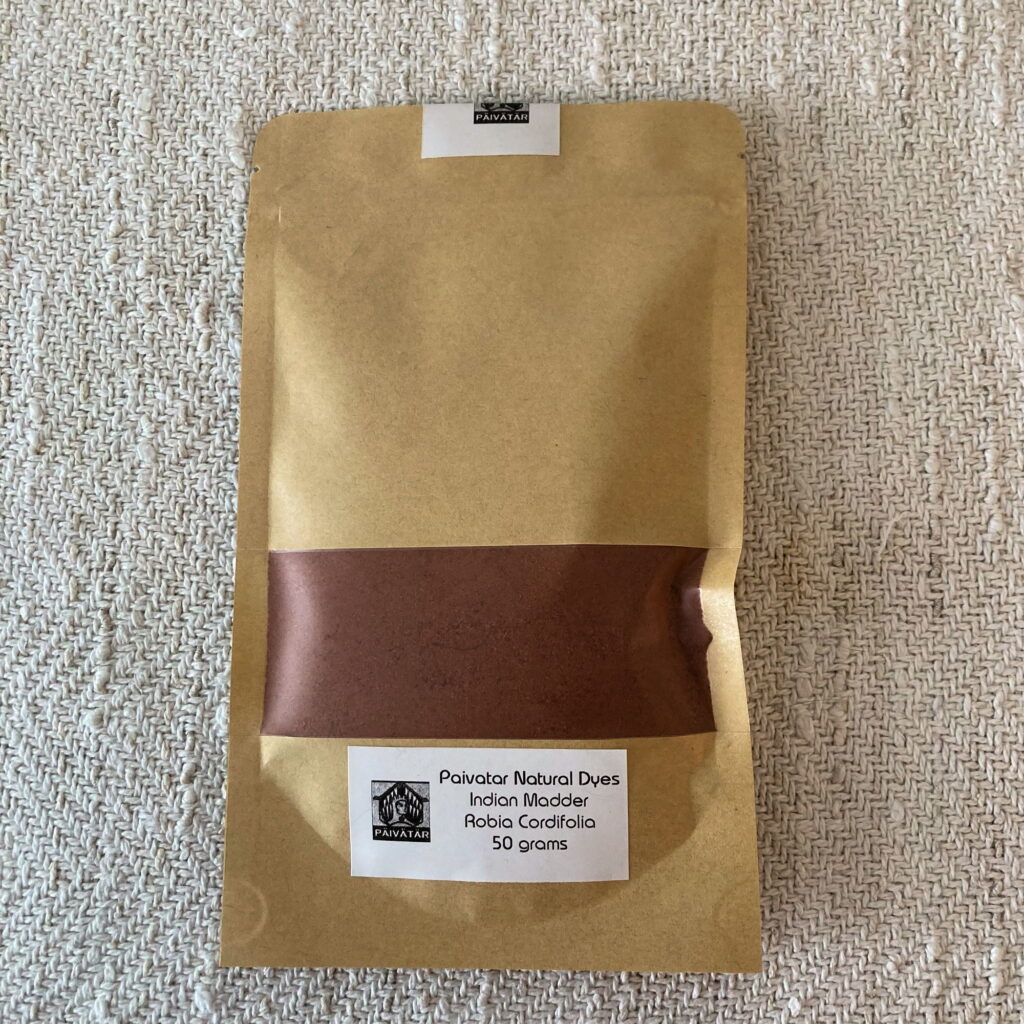
The madder that is used in this type of Indigo vat is spent madder, not new madder. After you have used the madder in another dyebath, the left over madder that no longer produces much colour is added to the Indigo vat. In this instance, I have used the madder liquid and poured it into the beaker. If you don’t wish to use the madder immediately, then pour out the liquid and let the madder dry for use later. Madder is an anthraquinone type of dye. Other anthraquinone dyes may also be used (such as Rhubarb roots), in this type of fermentation dye vat. Nothing is wasted.


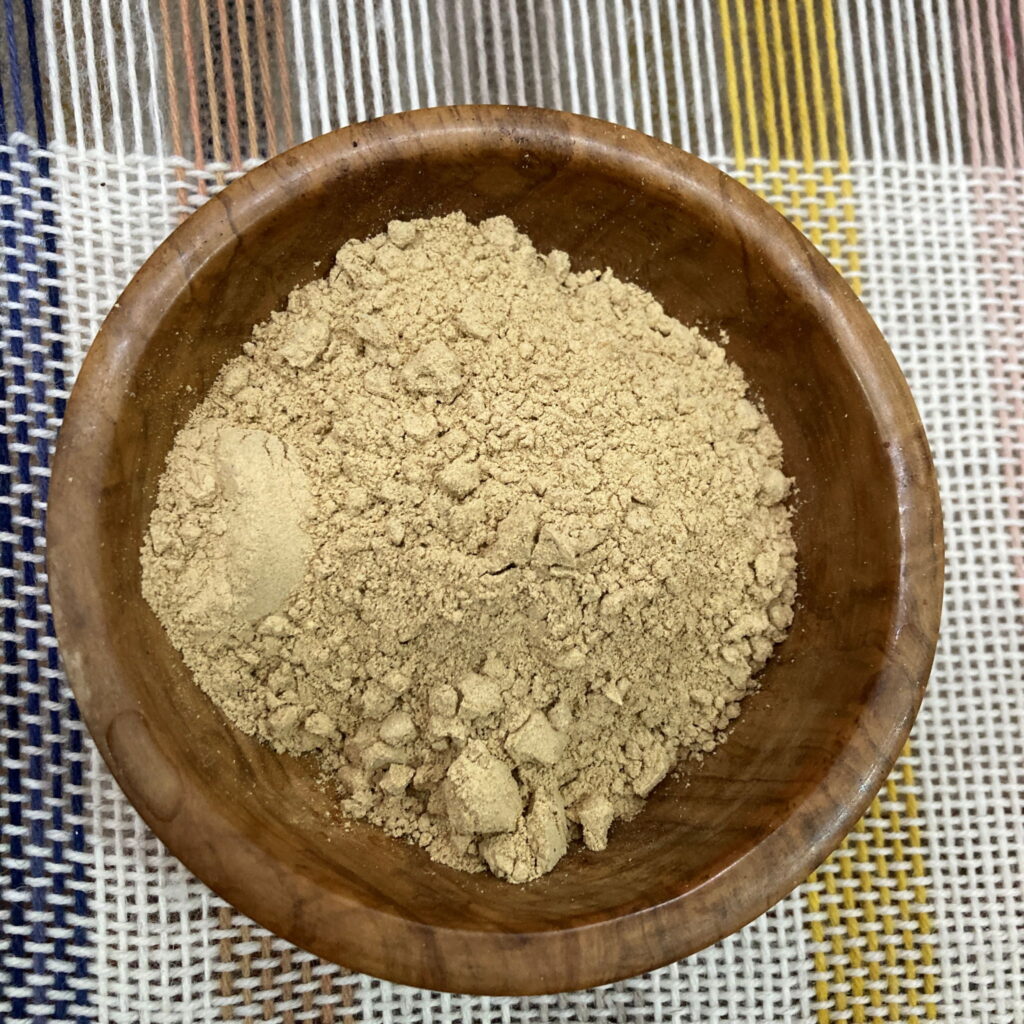
Indigo Cakes or Powder
Indigo can be purchased as ground powder or as ‘cakes’. When the Indigo is made, it is formed and cut into dried cakes. Personally, I prefer to use the cakes as I find it is less messy. The Indigo powder is very fine and tends to fly everywhere – often into your nose.


I find that the cakes can be difficult to grind, even using a mortar and pestle. Many Indigo dyers recommend placing the Indigo into a glass jar and filling it with marbles and a bit of water. The jar is then shaken to break and dissolve the indigo.
Another method to dissolve the Indigo was also described by JN Liles. The Indigo is placed into a small mesh bag and suspended over the Indigo vat. The water solution softens the Indigo. The small mesh bag is rubbed between the fingers and slowly the Indigo is released into the dye vat.


I prefer to measure the amount of Indigo that I want to use, and place this into a small mesh bag. I place the bag into a small jar of water to soften. I rub the bag occasionally to release the softened Indigo into the water. Then I pour the Indigo liquid into the dye vat. I add a bit more water and allow this to soak and soften. I find that using this method I have better control on how much Indigo I have added to the vat each day.
It can take several days for the vat to begin to ferment.
I check the vat each day, checking the pH. I add a bit of soda ash to keep the pH at 8-9. And also add more madder and bran to keep the fermentation process going.
Please check back in a few days to see the progress on my Indigo vat. I will update this as my Indigo vat lives on.
Shop for Natural Dyes at Paivatar.com
 LONGTHREAD MEDIA VIDEO
 LONGTHREAD MEDIA SUBSCRIPTIONS
HANDWOVEN MAGAZINE
PIECEWORK MAGAZINE
SPINOFF MAGAZINE
LEARN LONGTHREAD MEDIA
PAIVATAR HANDMADE
LONGTHREAD MEDIA SUBSCRIPTIONS
HANDWOVEN MAGAZINE
PIECEWORK MAGAZINE
SPINOFF MAGAZINE
LEARN LONGTHREAD MEDIA
PAIVATAR HANDMADE
 Paivatar on YouTube
Visit my YouTube channel for how-to craft videos.
Paivatar on YouTube
Visit my YouTube channel for how-to craft videos.
Or Please visit my Channel on Rumble for more how-to videos.
https://rumble.com/Paivatar
LIVE STREAMS - Paivatar Studio
KICK
TWITCH MAKERS&CRAFTING
YOUTUBE
Categories: DYES, NATURAL DYES